Our challenge this week was to make a birdbath that looks completely natural, as though it evolved from wind, water, sand and rock.
Can you find our beautiful birdbath? 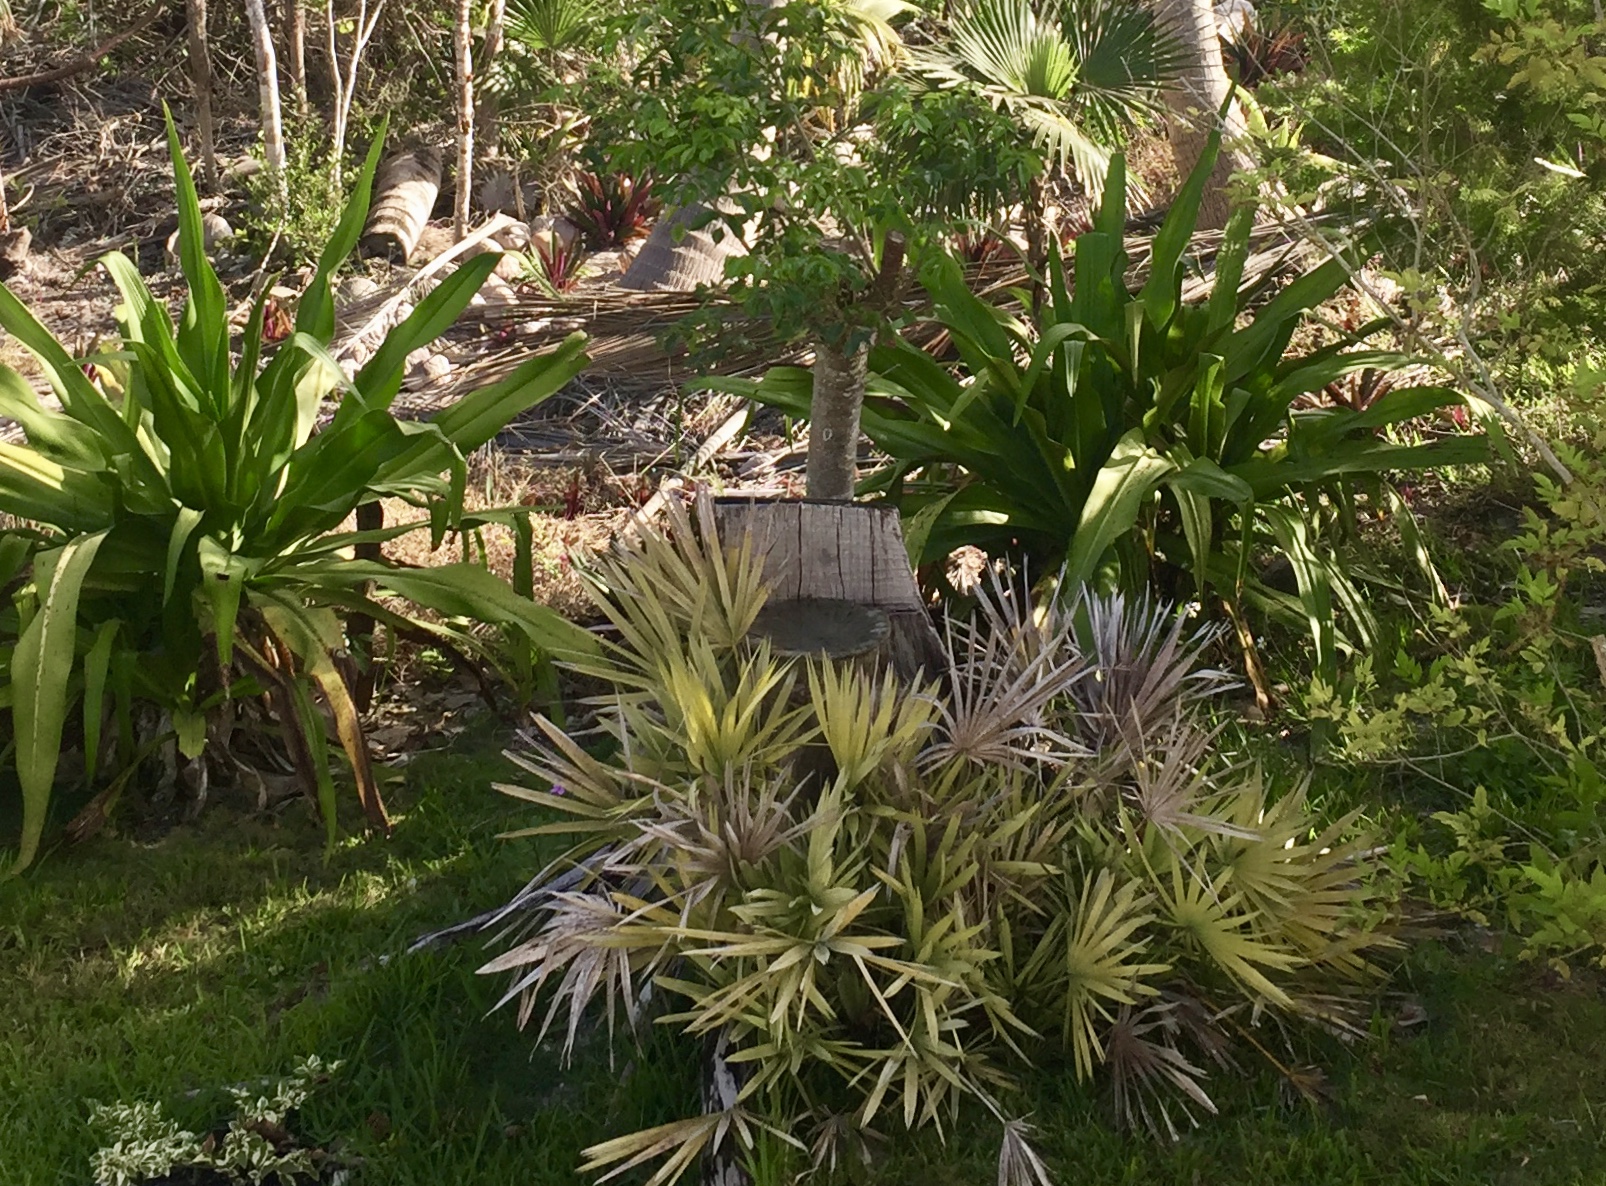
How about now? 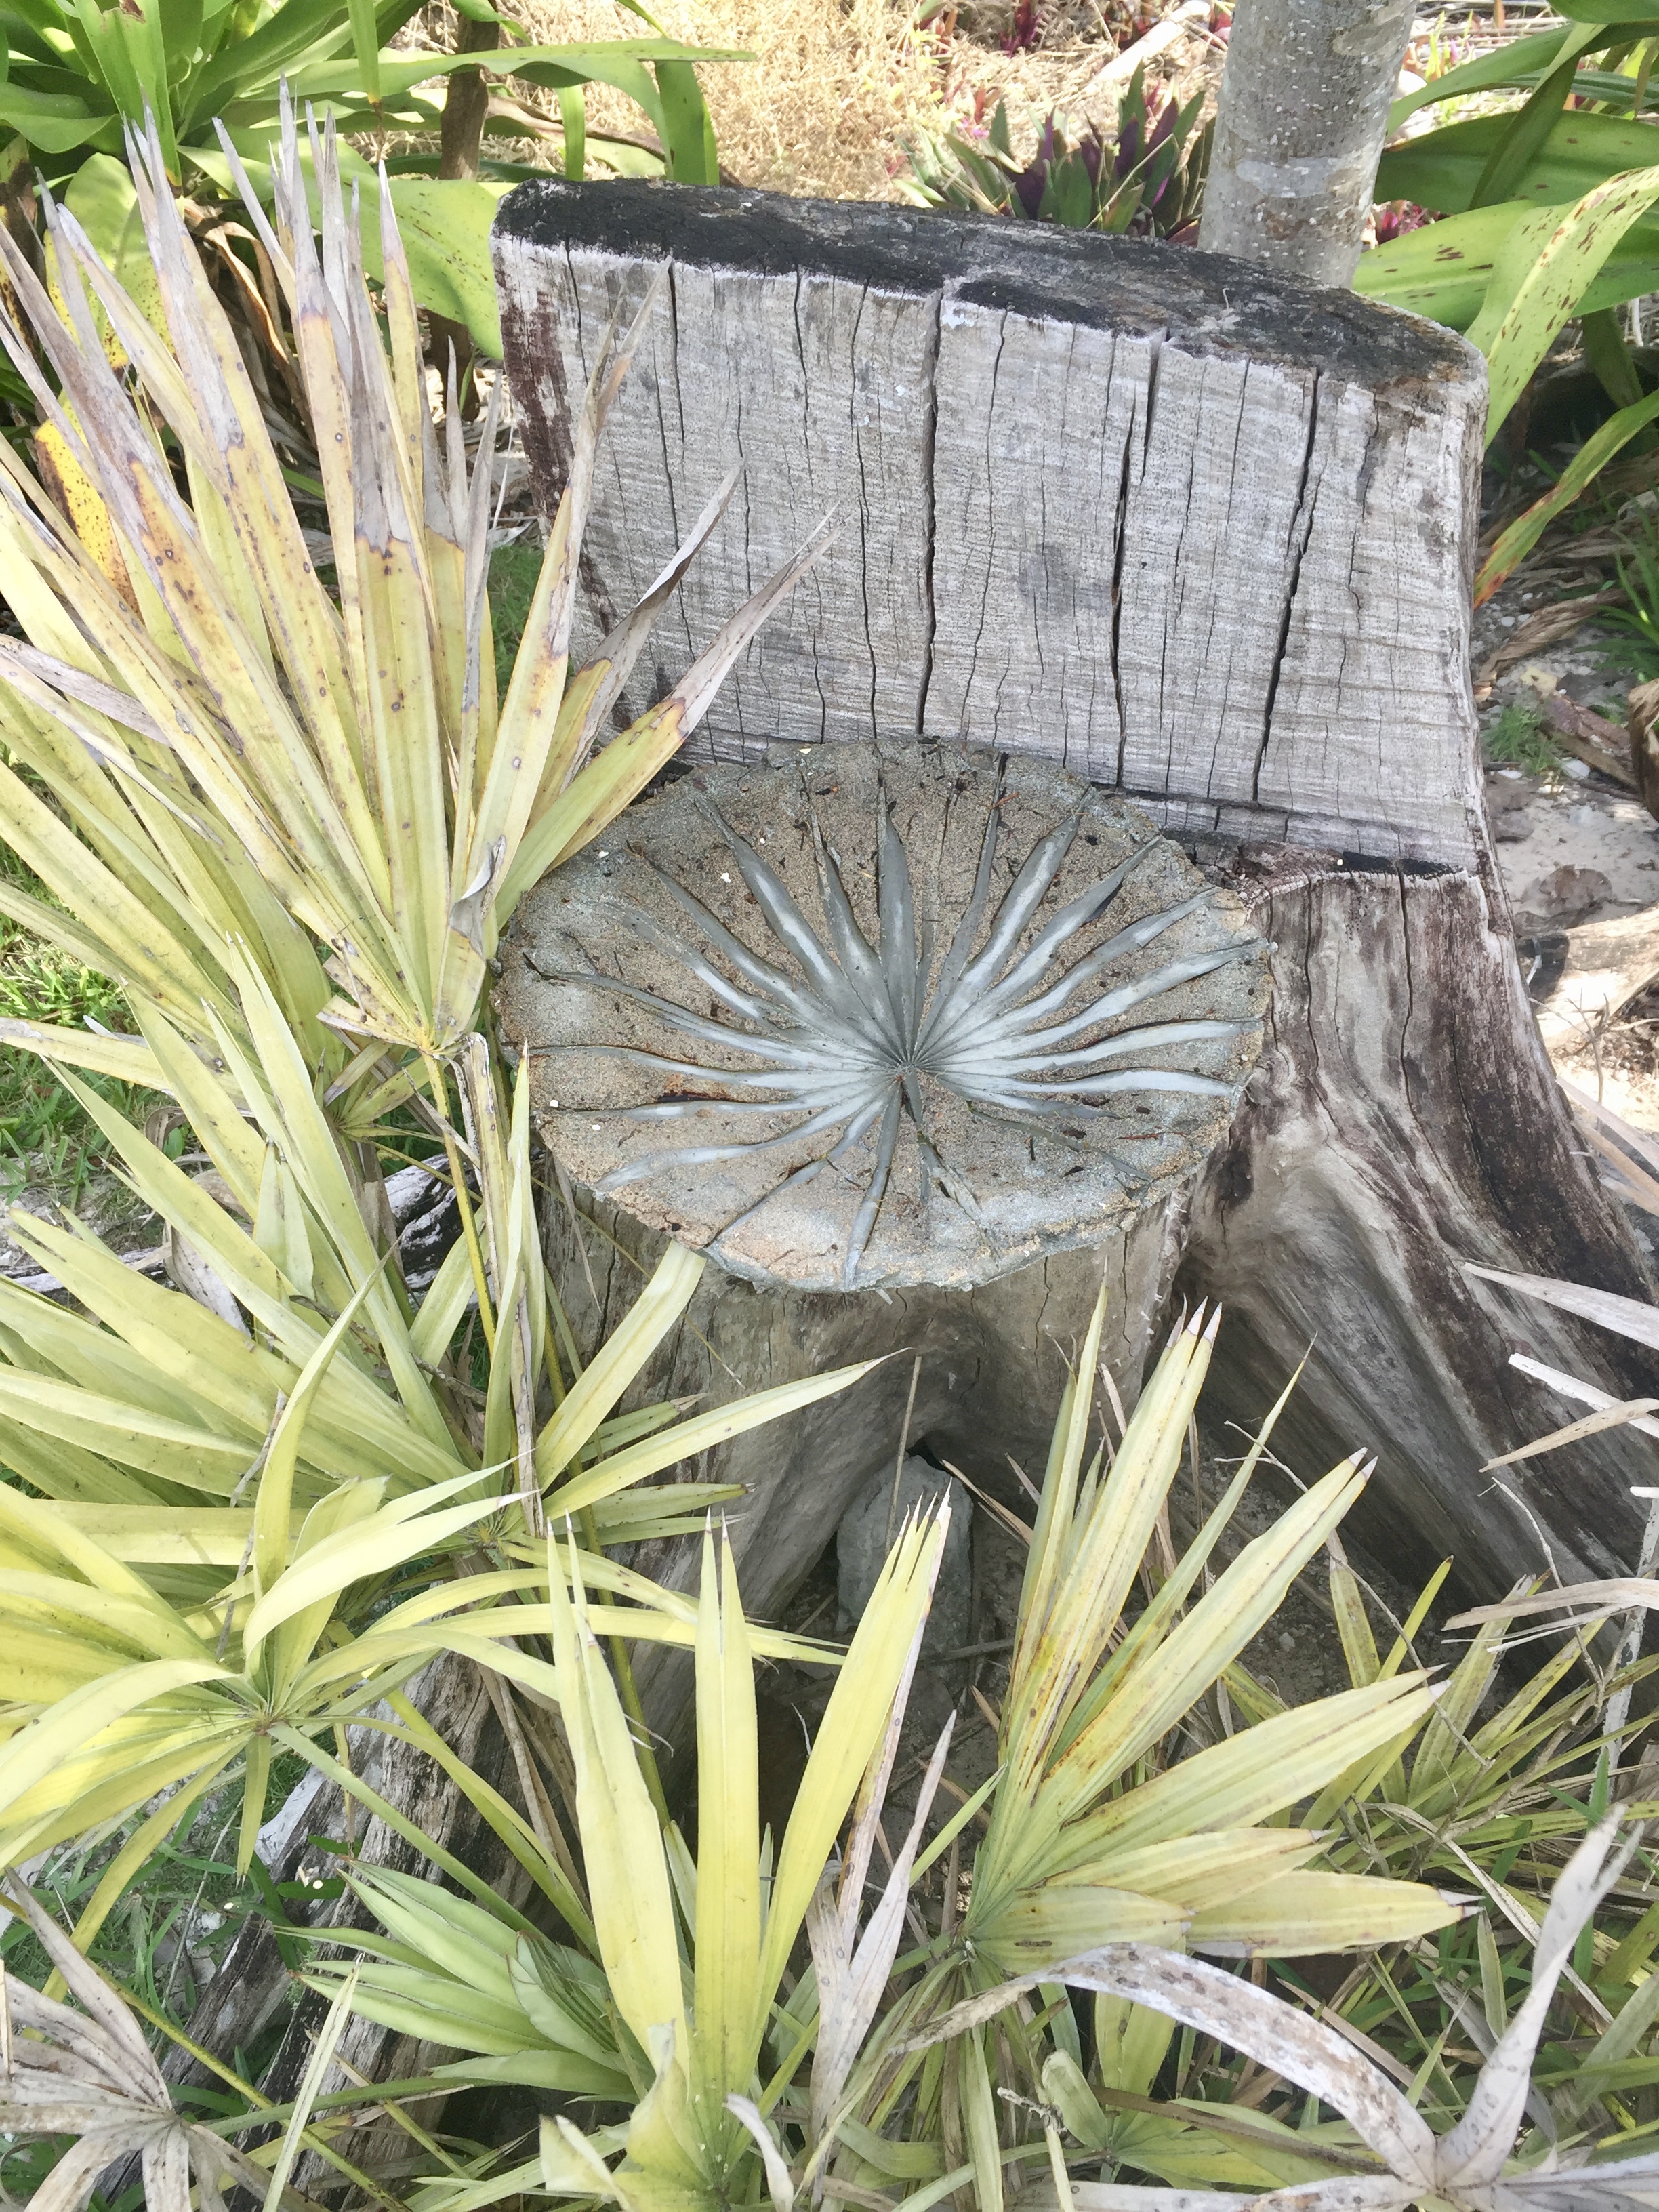
This birdbath is made of cement, using the imprint of a leaf, and has been left unpainted so that it looks really natural. It gets its texture from the dirt upon which the leaf was placed before we put on the cement. Here is how we did it.
We started by gathering up as many things for our project as we could find on the beach or amongst our belongings. Because we are on a small island, we try not to use imported items for our local art projects. Instead, we work with items that might easily found on the beach or are readily available in local stores.
Things we used for our project:

Additional items:


The recipe for making the concrete is as follows:
Recipe
- Portland Cement
- A shovelful of garden dirt
- A small bucket of beach sand
- Water
- Some pretty leaf or leaves of your choice
Instructions:
If you have ever made mud pies as a kid, then you are going to love this project. Mix Portland Cement and sand using a ratio of 2 to 1. In the project shown below, I used about a total of 12 trowels of Portland Cement and 6 trowels of sand for the birdbath.
Measure the cement and sand and mix well in the bucket, using the trowel to mix it. Then add small amounts of water and continue mixing the cement, sand and water with the trowel. Make a mixture that is sticky and easy to pick up in your hand and squeeze into a small, messy mud ball. You do not want the cement mixture so wet that you can pour it. The less water used, the better. Mix some more.
There, your cement is ready to go!
Making the Concrete Bird Bath
Put a shovel full of garden dirt on the bucket top and mound it up
Place the leaf (or leaves) of your choice on top of the mounded dirt. When doing so, try to imagine how it might look when it leaves its imprint on the cement . 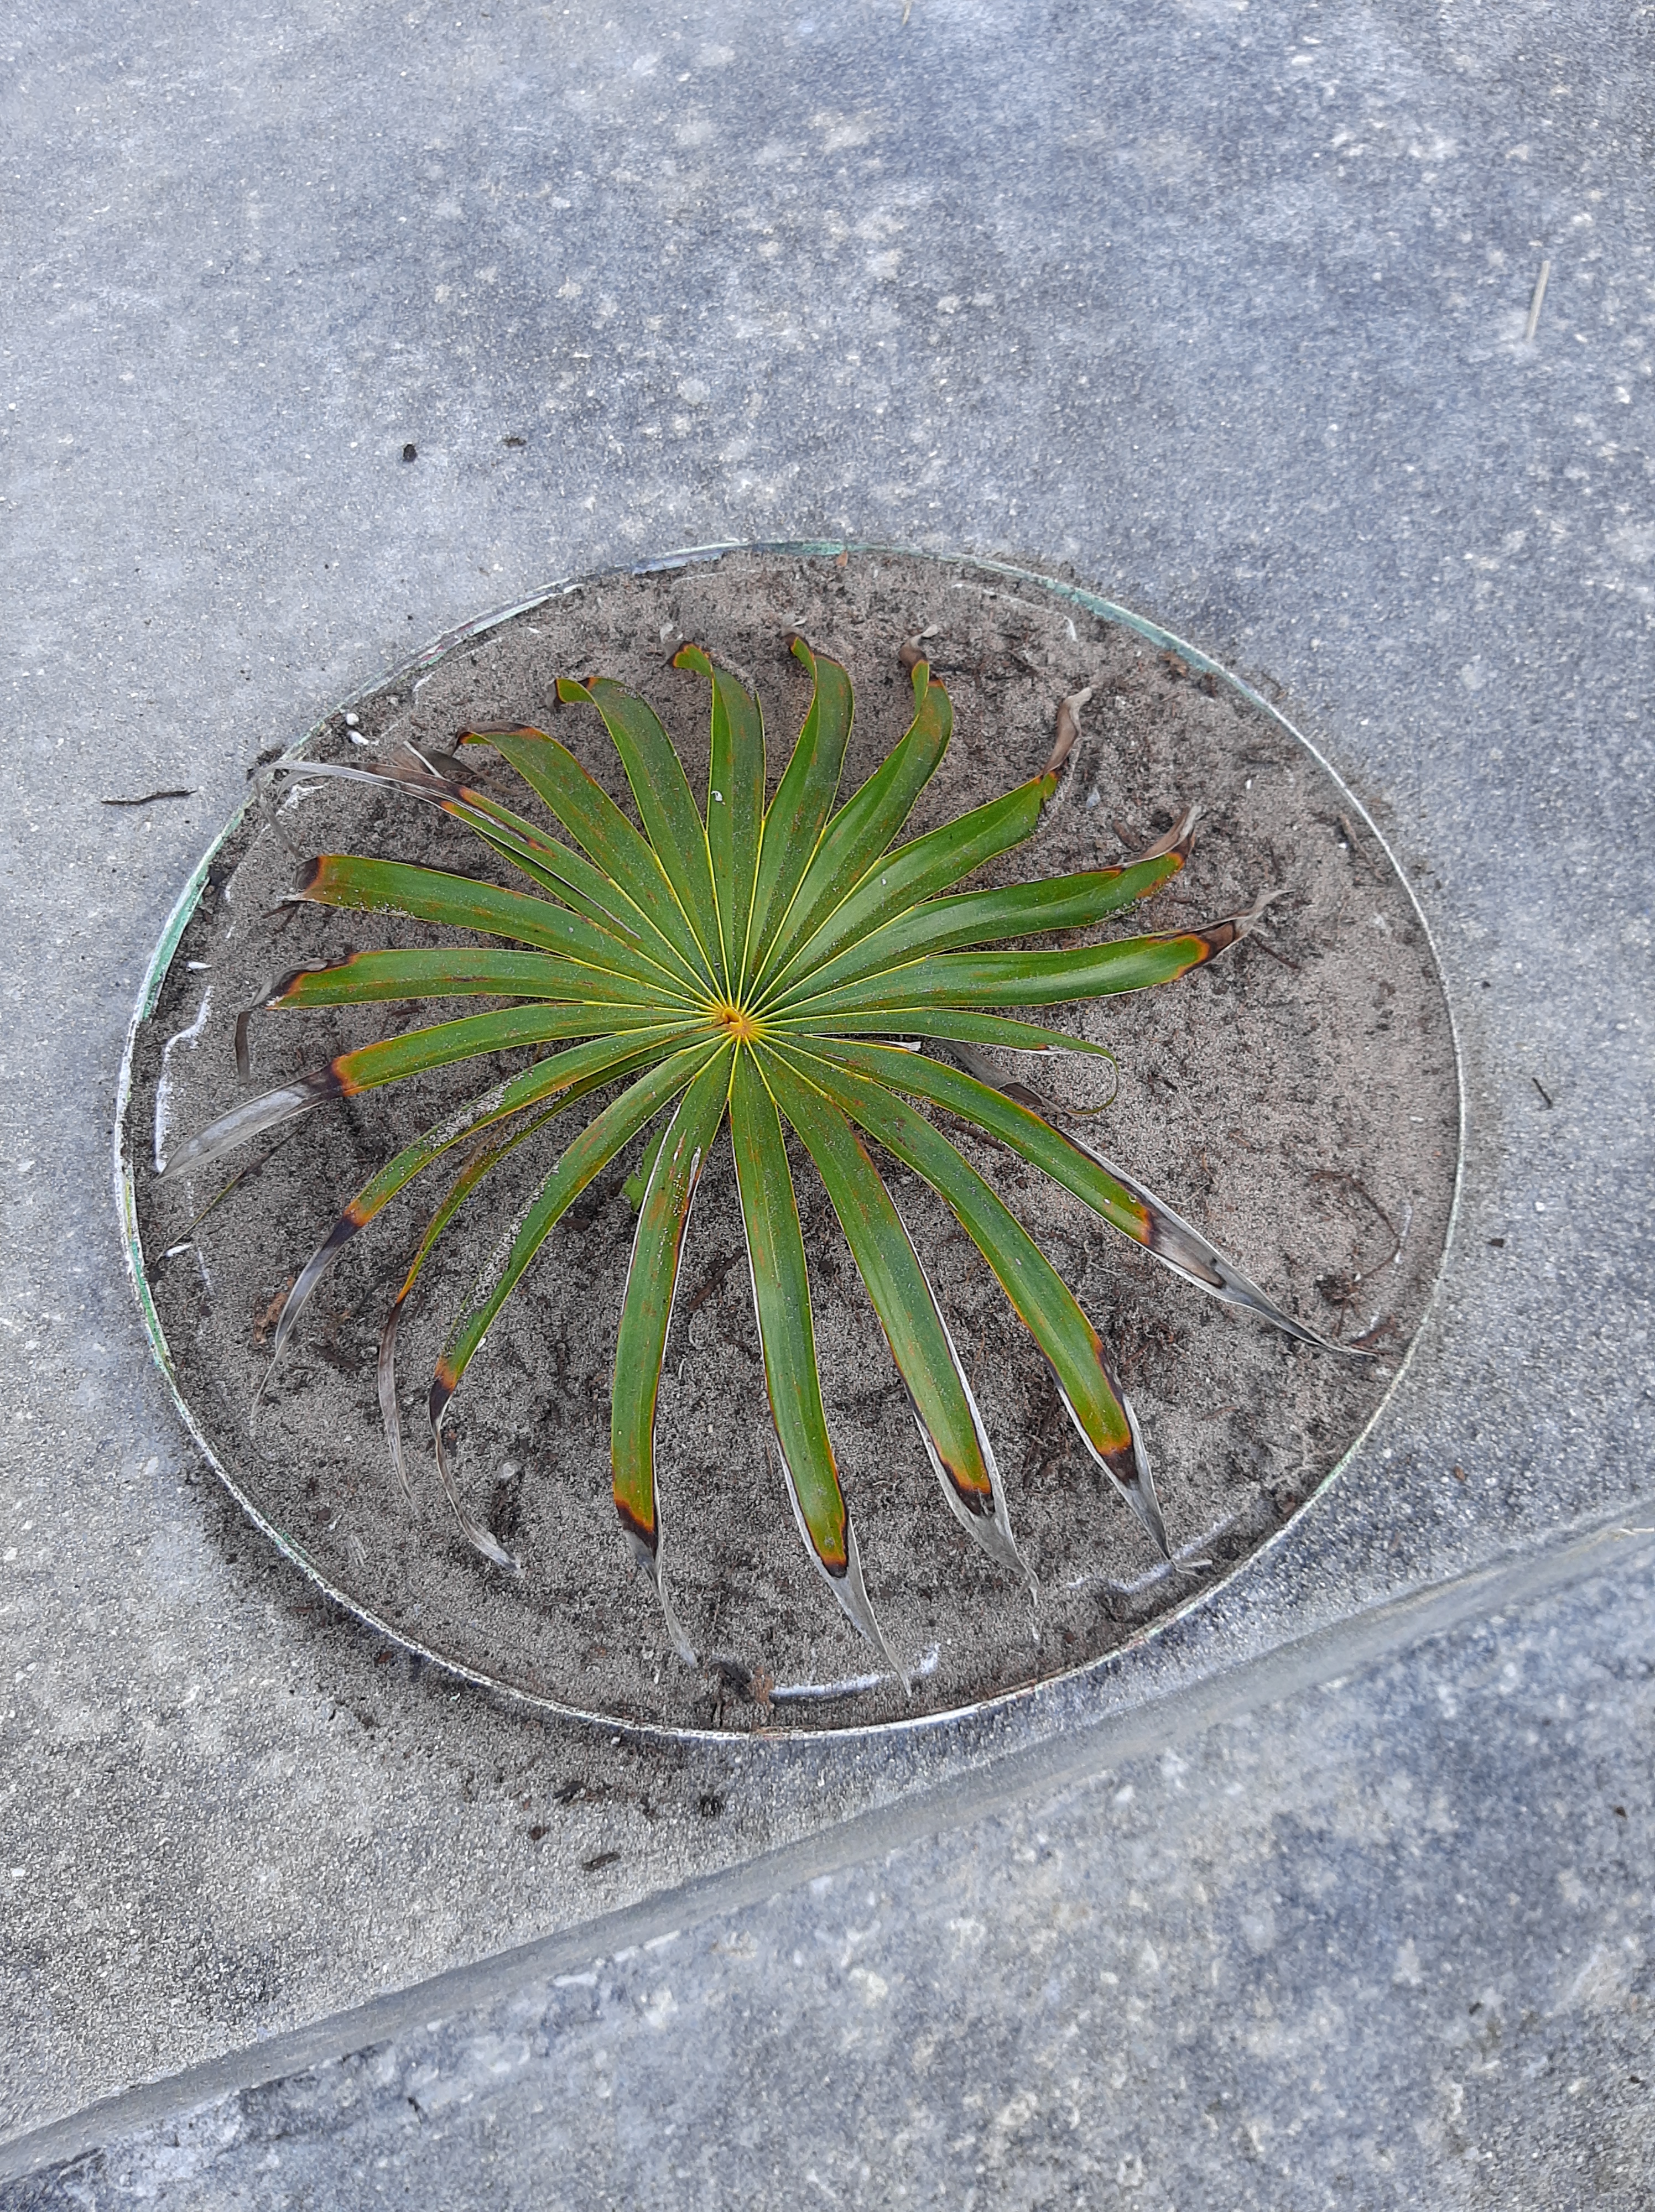
Place mixed cement on top of leaf and mound of dirt, using your trowel, and then your gloved hands. Smooth the cement until it reaches the edge of the bucket top while keeping cement approximately 2 or 3 inches thick. It ends up looking a lot like a Shephards Pie, made of cement, of course. 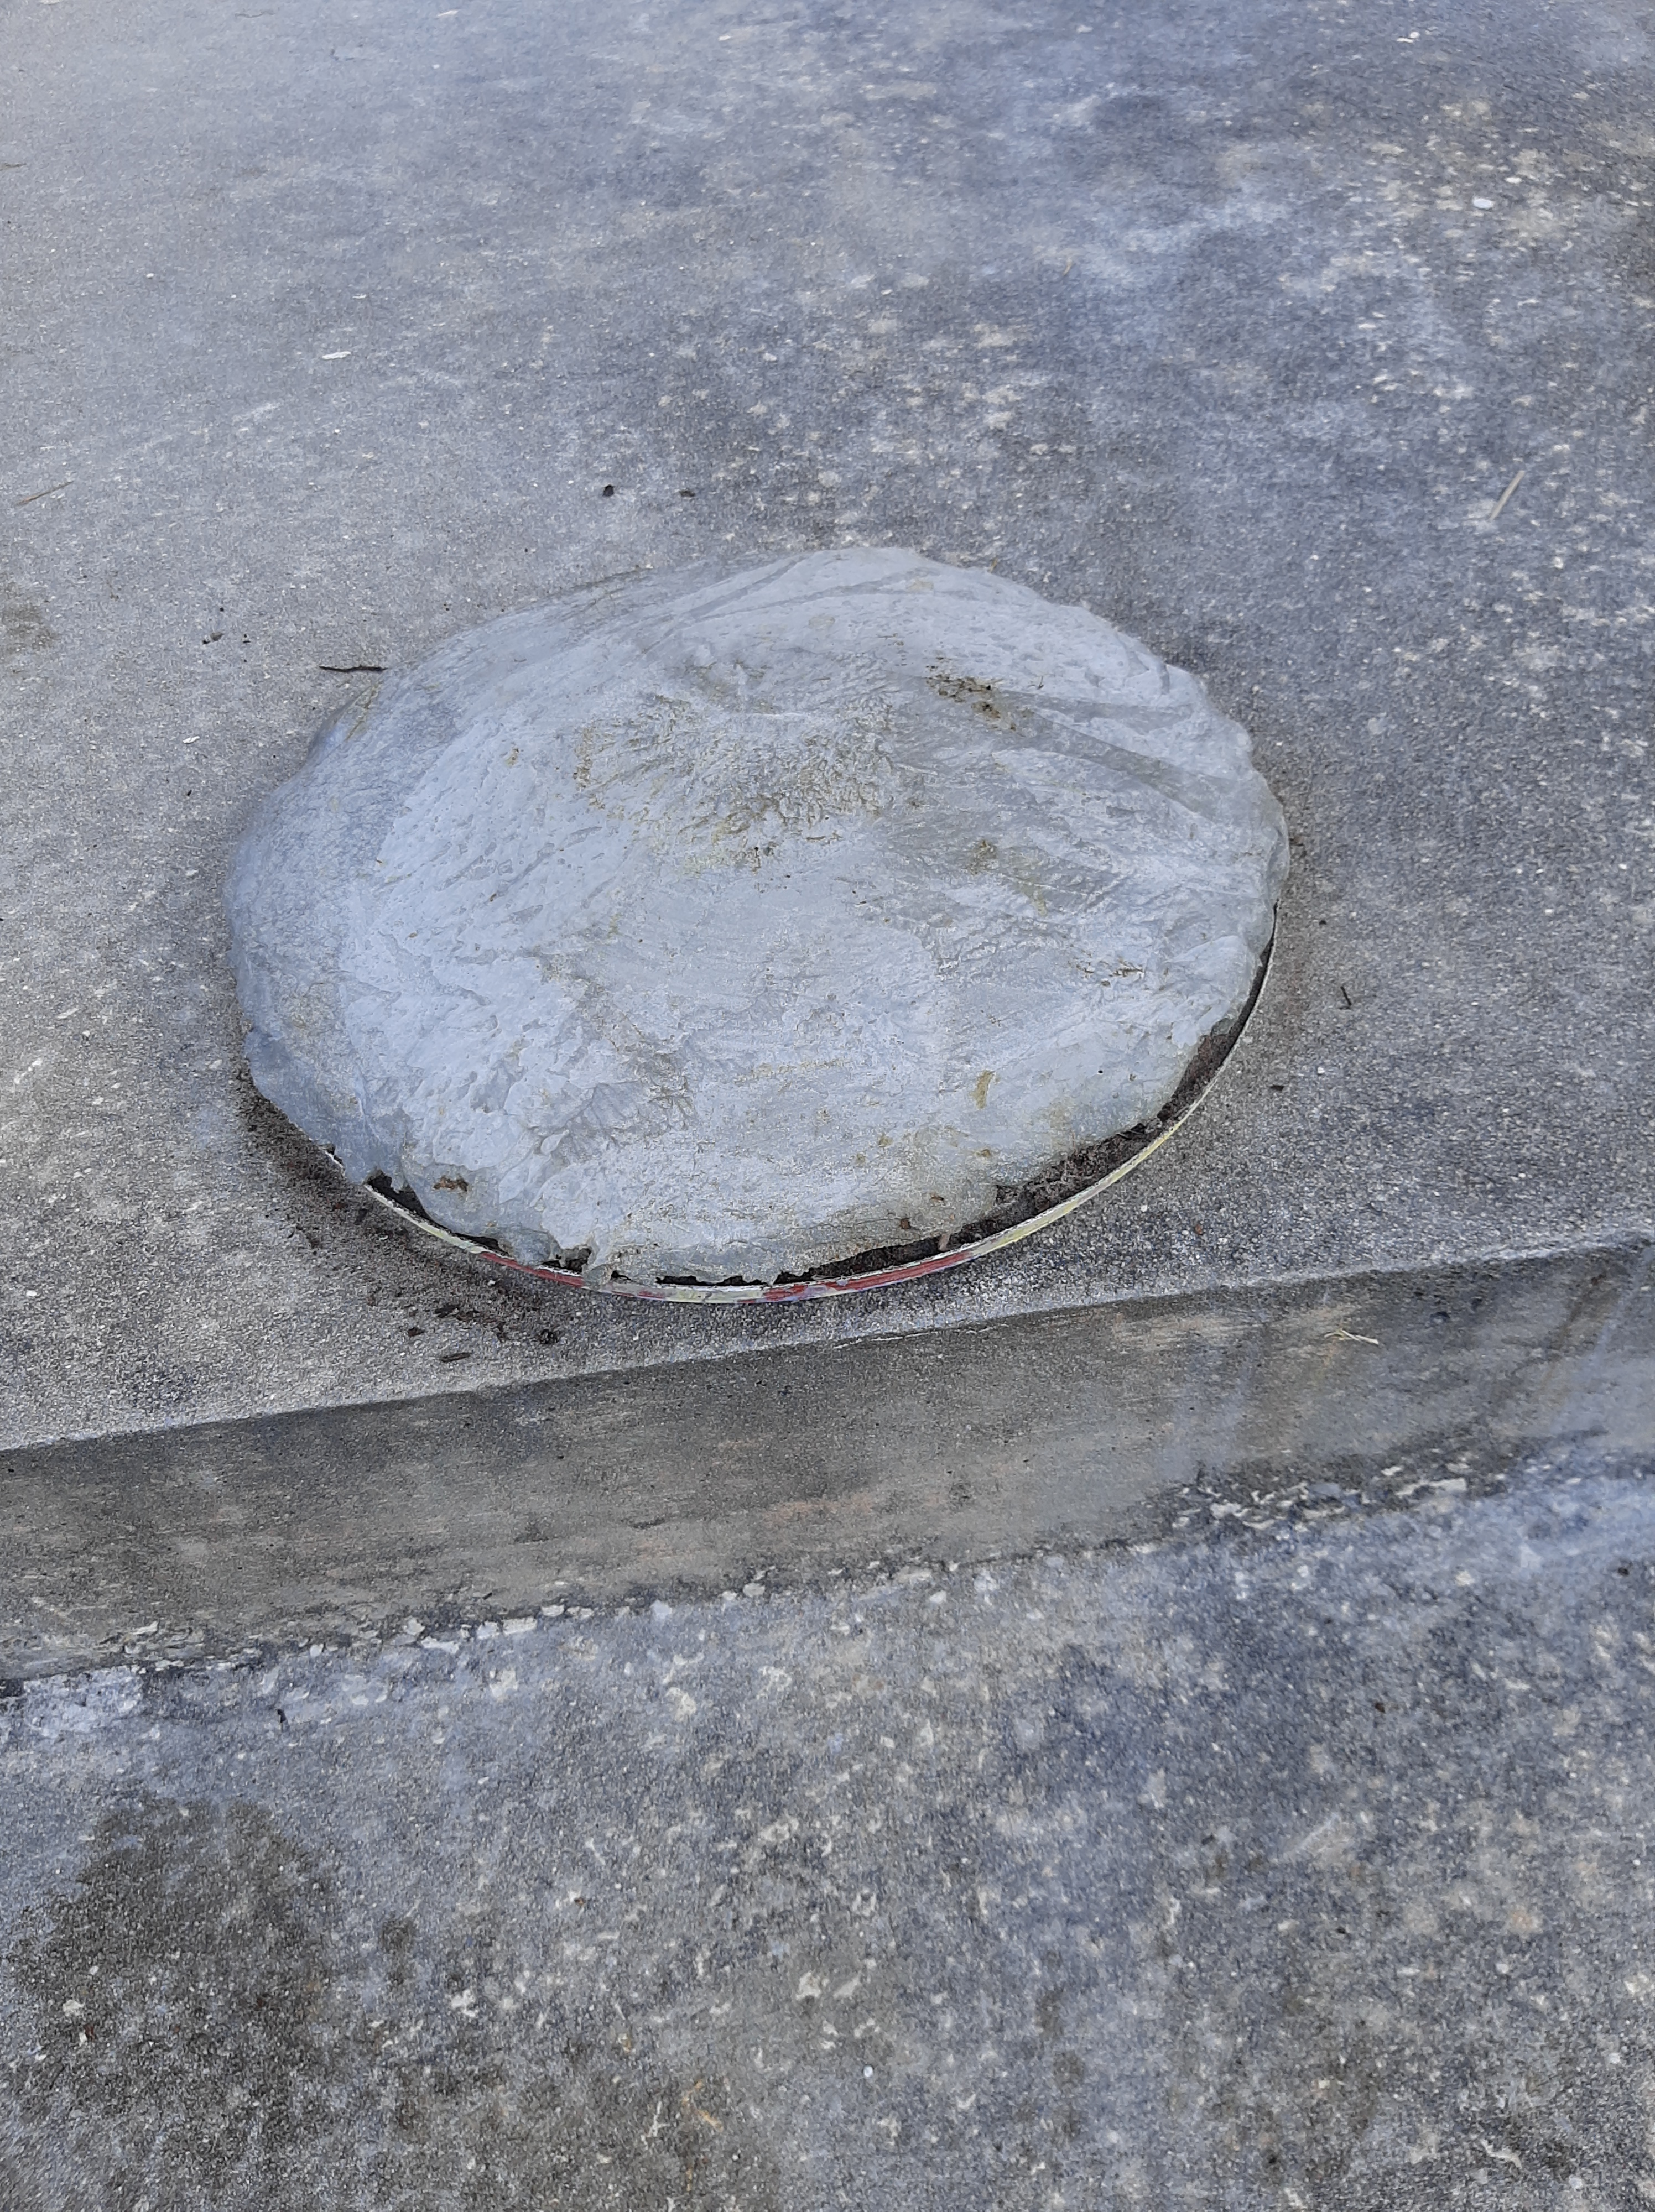
Leave it in a shaded place for 24 hours.
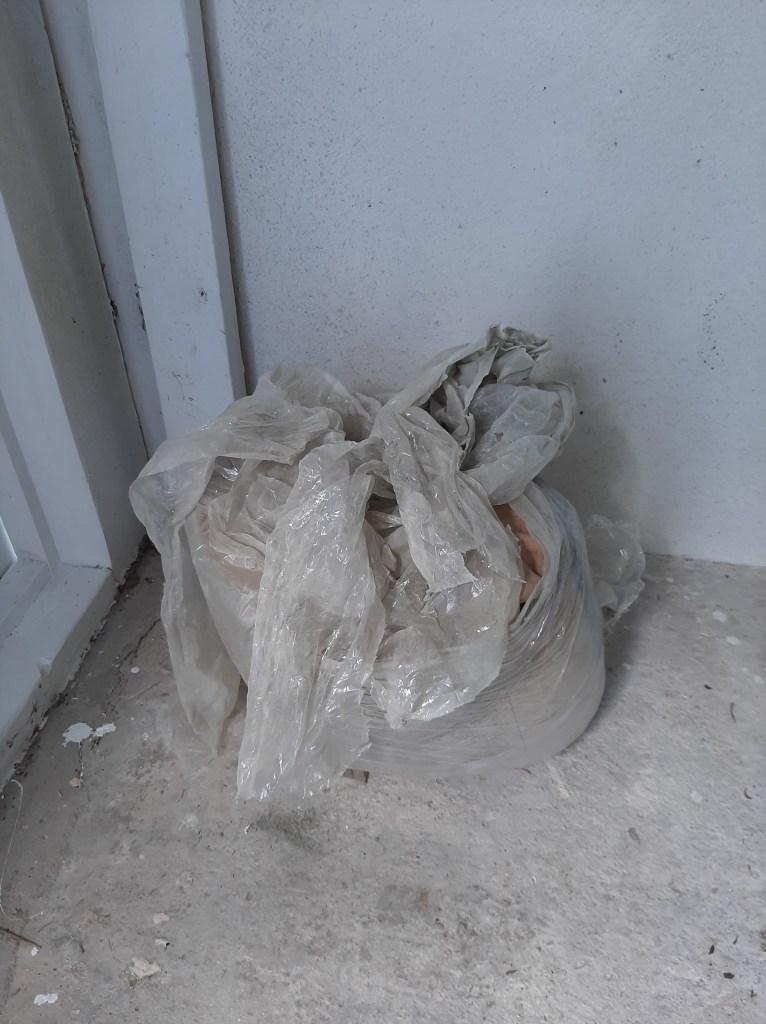
Splash water on a plastic bag and use it to cover the cement and leave it for another two or three days.
Gently flip the cement over, remove the leaf, hose the cement down and take a look at what you have. Surprise! It is really beautiful. 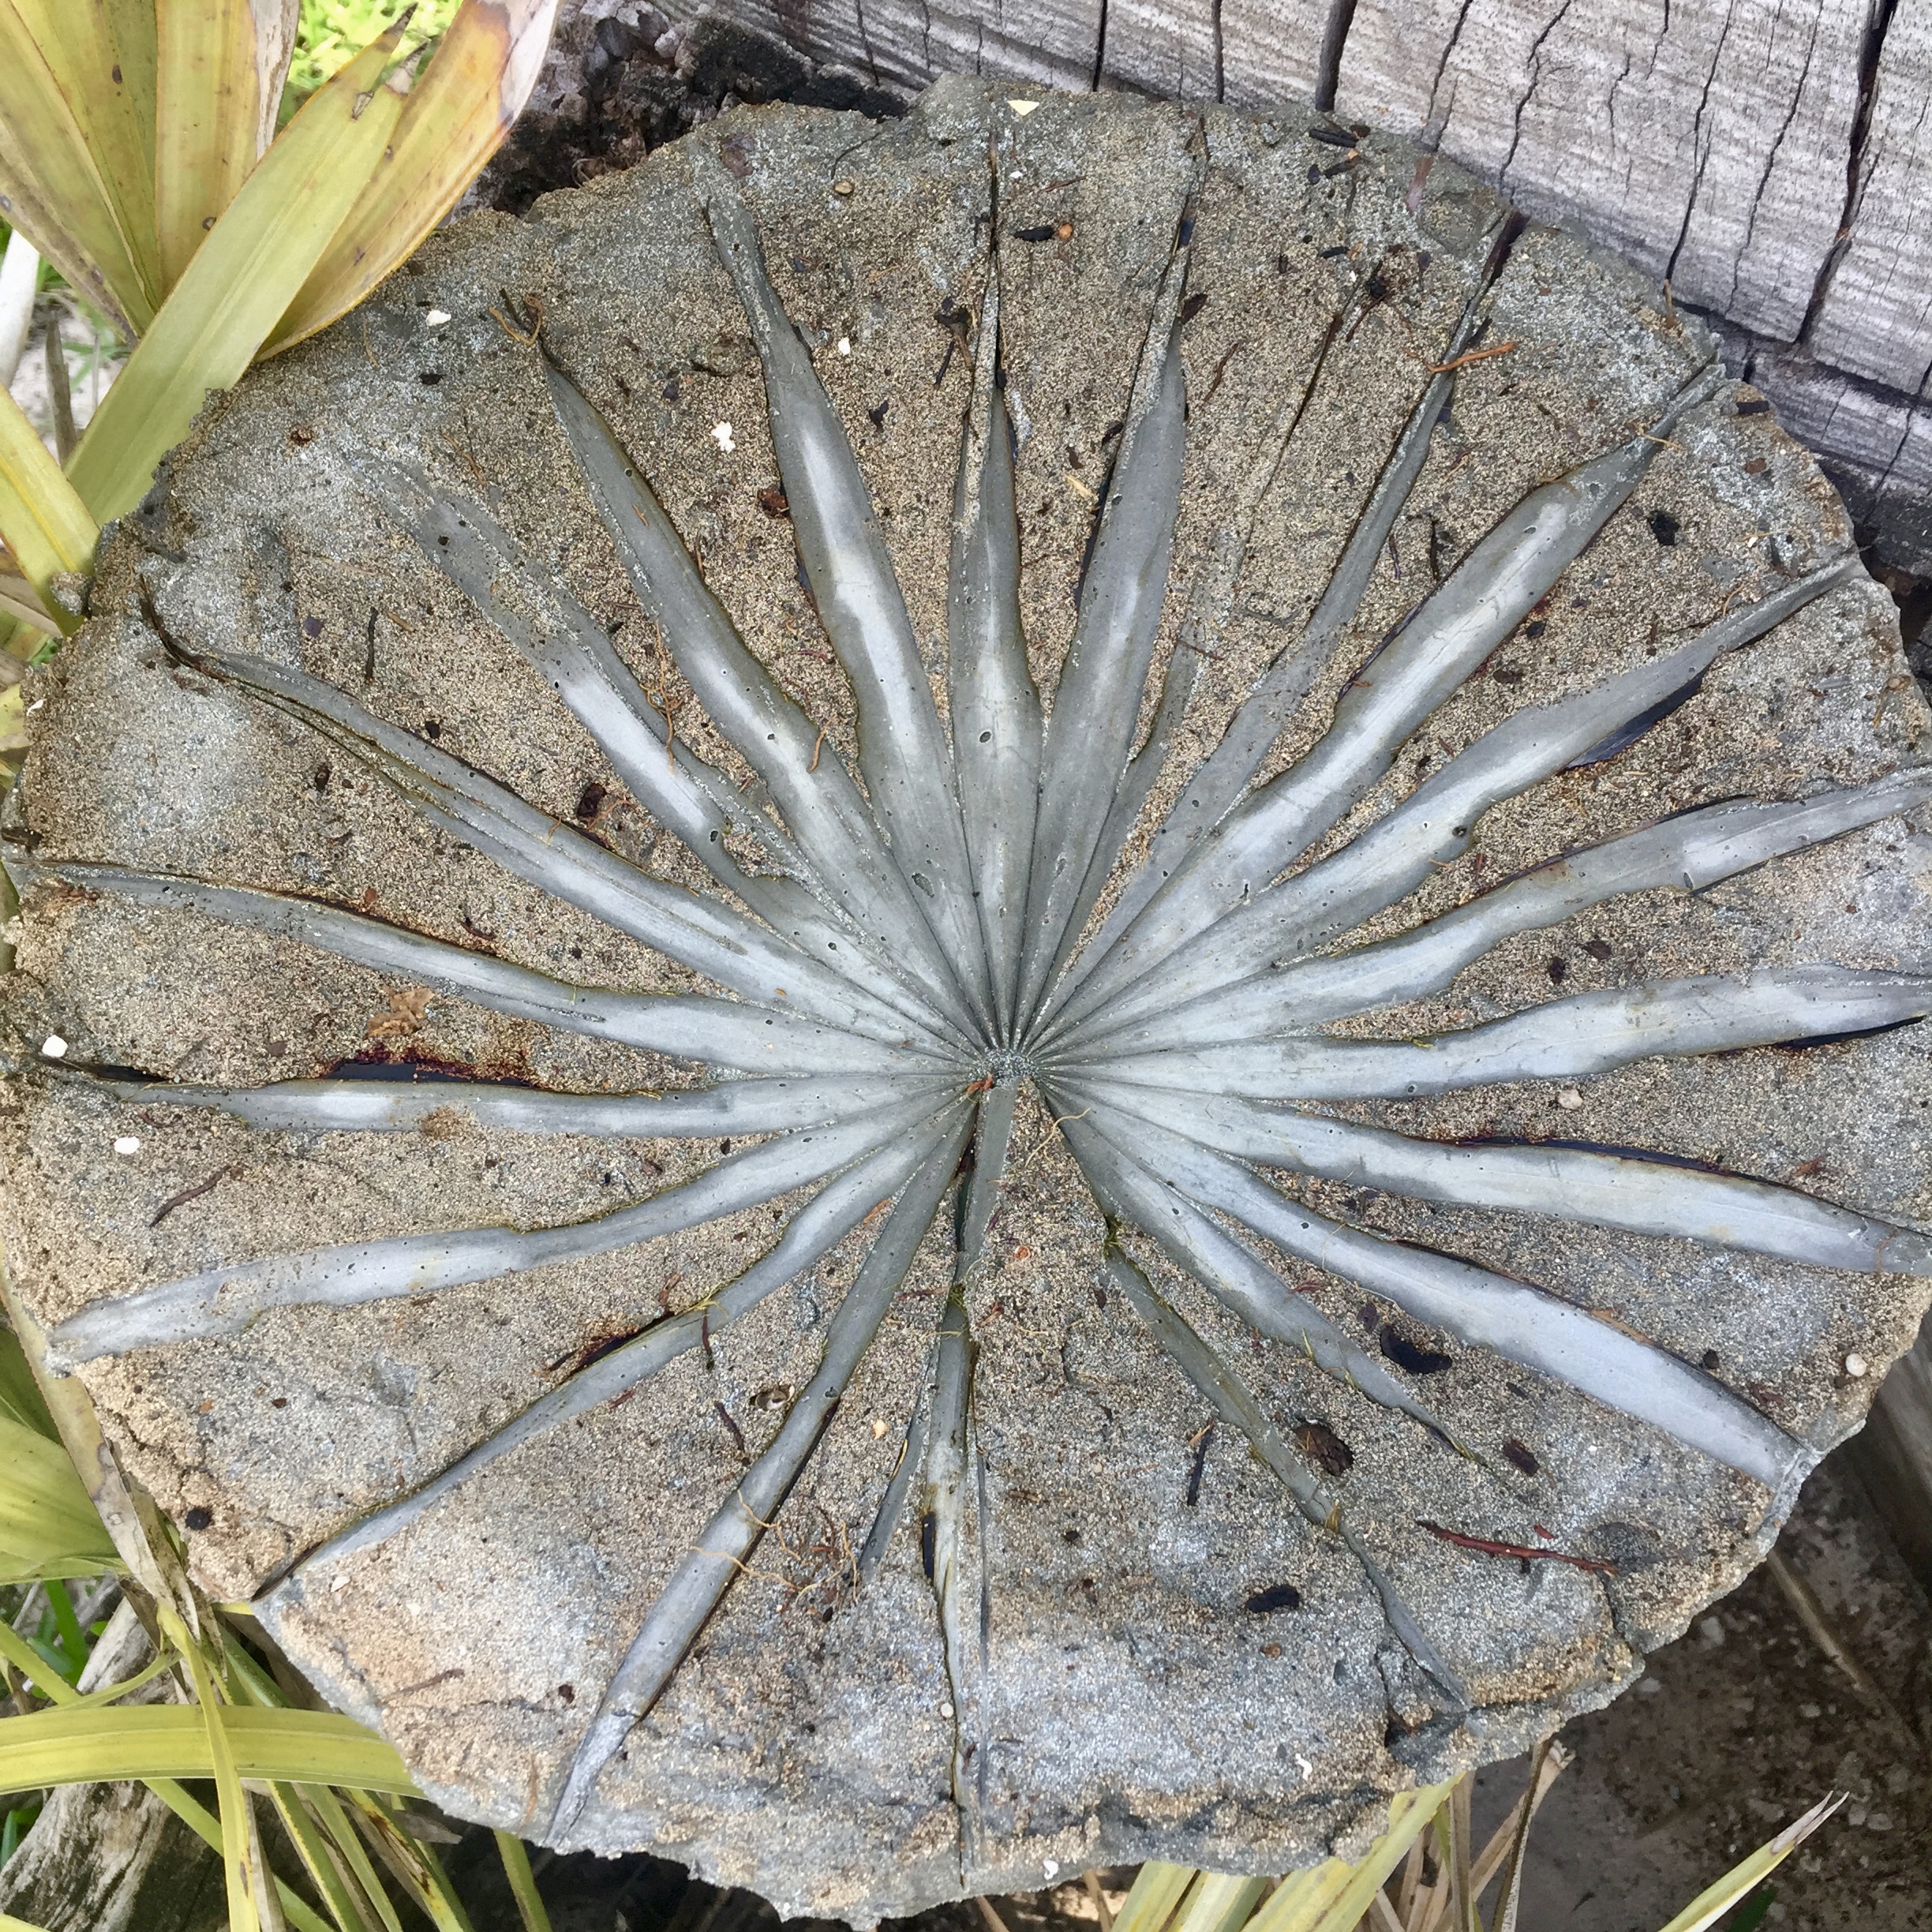
Mistakes we made thus far: On our first attempt, we left the cement out in the sun to dry and it dried to quickly and cracked. The second attempt, which is the one you are looking at, we left the cement in a shaded, cool place so that it dried more slowly and it came out really well.
Things to Remember: This project is for artistic fun. Please have fun and if it doesn’t work out the first time, try again adjusting it a little bit. If you start with a small project like this, it really doesn’t take much cement to make a beautiful birdbath. Even if you make a mistake, you won’t lose much if you have to do it over. Besides, it is enjoyable to play with cement. Have fun, and innovate! Let us know how it turned out.

Once the birdbath was fully dried, I added two coats of polyurethane to the top of the birdbath, aiding in its ability to keep water for birds. It is holding well.
I seal it with non-toxic (to animals using it), pond sealant.
Polyurethane and just plain cement both leach chemicals.